Want to make glow water but you don't have a black light?? This method creates a great glow in the dark effect even in daylight. Grab a yellow highlighter and snap it open to reveal the sponge which holds the dye Take this sponge out and cut the plastic open.
 Place the sponge in a jar of water, put the lid on and let it soak for 24 hours, shake it every so often. The effect is amazing.It truly glows. The more highlighters we added the more vibrant it became. This glow water is purely water and highlighter ink so it is non toxic to play with and will wash off hands.
The options are endless with glow water,check out our other posts for a few things we created with it
We loved our glow water so much we thought why not try making some playdough with it. Using 1 cup of cornflour and 2 cups of water i mixed it and placed in the microwave for 3 minutes. It became a hard thick layer of dough. I added a touch more glow water and kneaded it until it formed a ball. Such a simple recipe, no stove top needed and i was really happy with the outcome. Easy to mould and soft enough for little hands
 Tara got to work making some glow stars for halloween
What do you get when you mix glow water with cornflour? GOOOOOThis recipe was just cornflour with cold glow water stirred until thickened. This was the start of making playdough before i microwaved it but Tara saw that goo and wanted to explore it so we added some spiders and other creepy crawlies and she had a blast.It is sticky,gooey and gets everywhere but the ingredients are all washable,non toxic and so much fun. Tara made some hand prints on our pavers outside which look super creepy at night!
Tara was kind enough to involve her little brother in her Halloween activities by making him his own glow bottle.With an empty plastic drink bottle, she filled it with some of her glow water, not too full, so then it would make a lovely swishing sound when moved.  Then she searched for some things to put inside it....some green fruit netting off our apples, some coloured balls for rattling and some coloured match sticks
 Now Mason can enjoy the fun of Halloween while exploring his own glow bottle
A fairy garden has always been on my to do list so when the beautiful spring weather arrived we went planning our garden design, Tara quickly assured me it would be a smurf village not a fairy garden so i followed her lead and she helped me create a one of a kind smurf village. We used a saucer from under a pot plant and rested it on a stump. Make sure the saucer has a draining hole and fill up with soil. We added some ground cover greenery that will hopefully spread and can be cut back with scissors by your little gardener. To create a bridge we used twine to connect some twigs together to form a plank then placed it over some blue gems. Our toadstools are corks painted white/red with puffy paint white spots. We found a bird nest hut from Bunnings and some coloured bonsai pebbles to add to the village. Tara remembers to water the village every day with a spray bottle i leave next to the garden. Lovely to see her enjoy hours of outside imaginative play together with the Smurfs.
Want to give your trick or treaters a healthy and fun alternative this year? why not make a batch of spooky Halloween slime and add some crazy critters. Arrange them in a small container and they are ready to hand out.Our slime recipe is found at http://superpants.net/slime.html
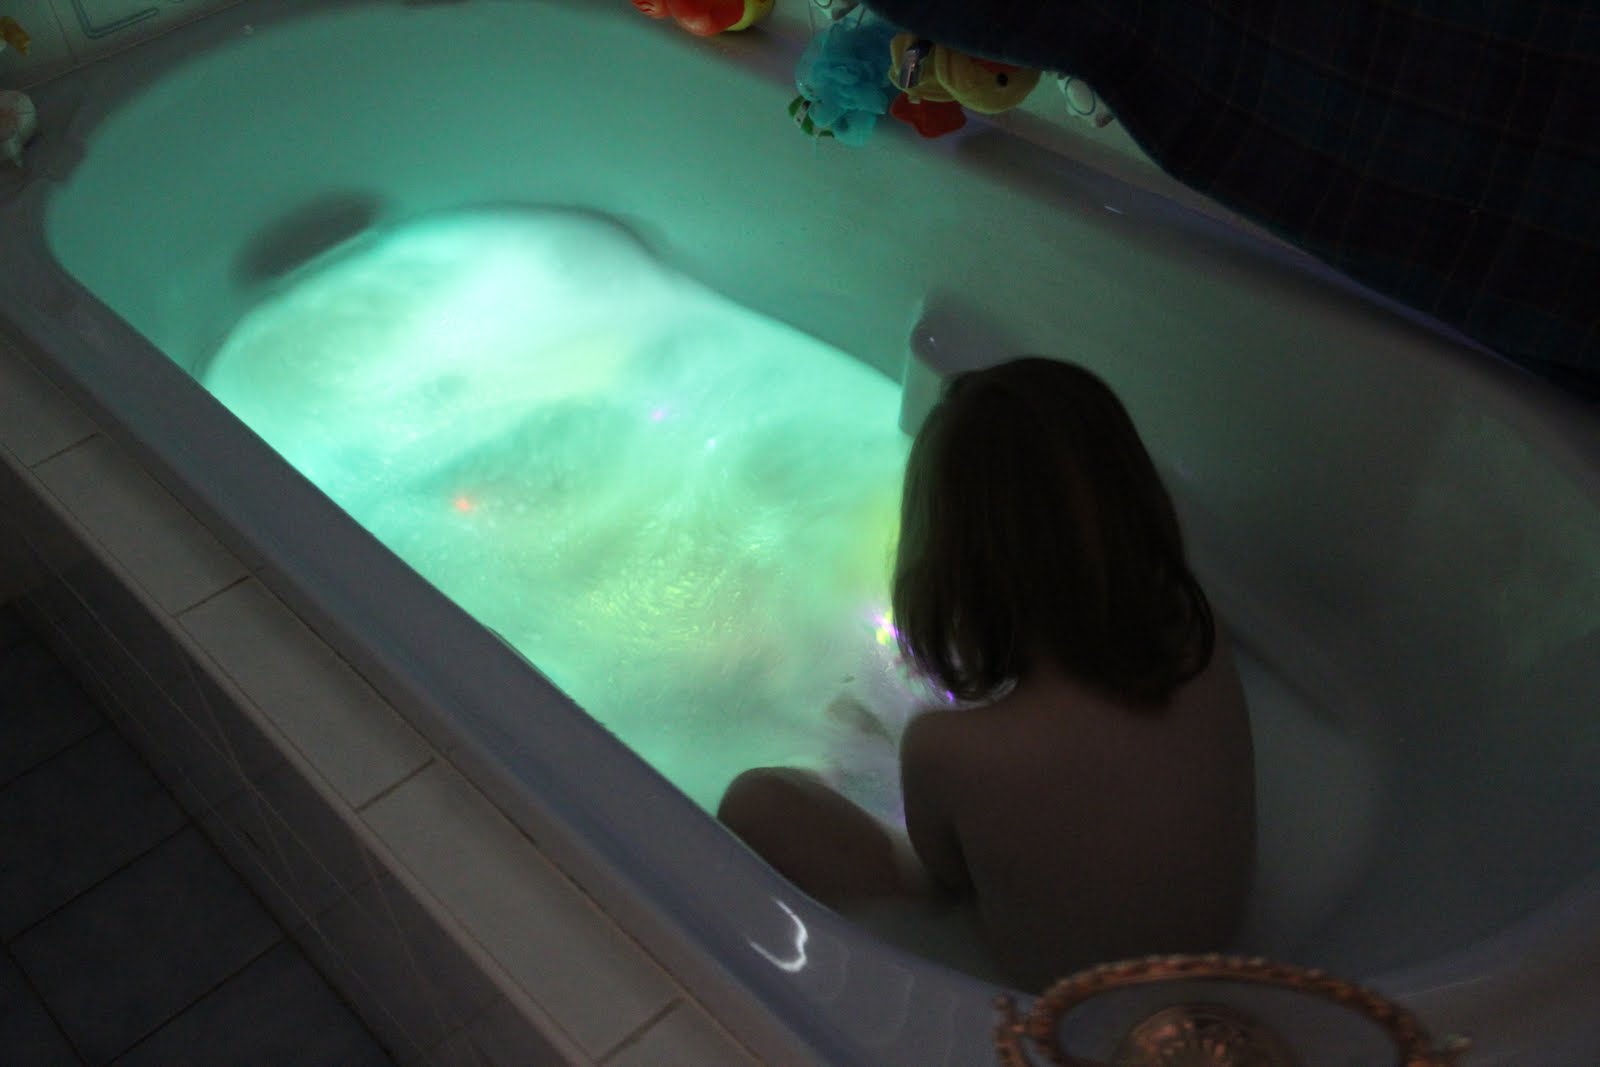
Want a spooky way to clean your self this Halloween??We made our bathroom as dark as possible with blankets covering all the windows and filled up the bathtub with warm bubbly water and added a handful of thin glow sticks.We found glow sticks at NYE time at Aldi for $7.99 for a hundred pack and they make for some great spooky adventures! Best of all the water is still safe for kids of any age to enjoy. When your finished keep the glow sticks in the freezer to increase their glow life and they can be used again the following nights.
How do you display your child's artwork? If your house is like mine we seem to find it hard to find the fridge handle among all the glittery colourful pieces Tara has made especially for us. One unique way to display a lovely picture is by laminating it in plastic and adding it to your fish tank as a background. We put ours in our actual fish tank so that is why we laminated it first but if you wanted to secure it to the outside of a clear tank with blu tak it would also look just as good Tara was very proud of her fish picture and seeing it in her own fish tank made her smile. The fish even enjoyed the new decor :p
Wind storms are creating havoc around Sydney today so we find ourselves inside making some marshmellow constructions. We find the small marshmellows work best and using toothpicks allows us to create whatever we can imagine Tara making her square cube
 Into a mini building...
For those of you haven't read Mariah Bruehl's "Playful learning", you NEED to get yourself a copy. There are so many books on the market now for kids but only a handful that i adore and this is one of them.Mariah quotes "what i saw when looking into my young daughter's eyes is that the curriculum of life,as experienced by children in their own homes on a daily basis, is the most revolutionary teaching and learning that can take place". Those words truly resonated with me yet i was only on page 2!The book has inspirational ideas on everything from nurturing young authors to raising citizens of tomorrow. I would recommend this book to any parent or career with a passion for educating. After reading the first chapter "Learning playful spaces" it got me thinking. Tara's work area was set up as soon as she could sit at a table. A pink table she chose that was used for meal times was now her art table. This table was ready for what ever activity was planned for the day-but creativity is never planned! I set to work organising a new creative area that Tara can go to when she likes, imagine and create for hours on end(and has she ever!)Mariah's book gave me some great tips on making everything accessible so instead of spending money on new toys we choose to buy art mediums to explore. I have pastels, watercolours, clay,coloured paper, card stock and charcoal all ready at her fingertips at her desk so she can choose when to create. Tara is now 3.5 yrs old and i see a real Independence in her now and of course her imagination is amazing so i feel this was a great step for her and for me to step back and let her own a space that she can take care of and call her own.Mariah Bruehl's ideas will pop up again on my blog, we are currently making our mail center which i will write about soon. Thanks Mariah!

So after grating our chalk to make coloured sand we had some left over and decided to make some paint from it. Tara used the medicine dropper to add water then mixed it until it was thin and runny Beautiful vibrant colours
 Used sparingly, the colours gave a stunning sheen to them on some watercolour paper. So next time you run out paint just grab your chalk and get grating!

 Take this sponge out and cut the plastic open.