Want to make glow water but you don't have a black light?? This method creates a great glow in the dark effect even in daylight. Grab a yellow highlighter and snap it open to reveal the sponge which holds the dye Take this sponge out and cut the plastic open.
 Place the sponge in a jar of water, put the lid on and let it soak for 24 hours, shake it every so often. The effect is amazing.It truly glows. The more highlighters we added the more vibrant it became. This glow water is purely water and highlighter ink so it is non toxic to play with and will wash off hands.
The options are endless with glow water,check out our other posts for a few things we created with it
We loved our glow water so much we thought why not try making some playdough with it. Using 1 cup of cornflour and 2 cups of water i mixed it and placed in the microwave for 3 minutes. It became a hard thick layer of dough. I added a touch more glow water and kneaded it until it formed a ball. Such a simple recipe, no stove top needed and i was really happy with the outcome. Easy to mould and soft enough for little hands
 Tara got to work making some glow stars for halloween
What do you get when you mix glow water with cornflour? GOOOOOThis recipe was just cornflour with cold glow water stirred until thickened. This was the start of making playdough before i microwaved it but Tara saw that goo and wanted to explore it so we added some spiders and other creepy crawlies and she had a blast.It is sticky,gooey and gets everywhere but the ingredients are all washable,non toxic and so much fun. Tara made some hand prints on our pavers outside which look super creepy at night!
Tara was kind enough to involve her little brother in her Halloween activities by making him his own glow bottle.With an empty plastic drink bottle, she filled it with some of her glow water, not too full, so then it would make a lovely swishing sound when moved.  Then she searched for some things to put inside it....some green fruit netting off our apples, some coloured balls for rattling and some coloured match sticks
  Now Mason can enjoy the fun of Halloween while exploring his own glow bottle
A fairy garden has always been on my to do list so when the beautiful spring weather arrived we went planning our garden design, Tara quickly assured me it would be a smurf village not a fairy garden so i followed her lead and she helped me create a one of a kind smurf village. We used a saucer from under a pot plant and rested it on a stump. Make sure the saucer has a draining hole and fill up with soil. We added some ground cover greenery that will hopefully spread and can be cut back with scissors by your little gardener. To create a bridge we used twine to connect some twigs together to form a plank then placed it over some blue gems. Our toadstools are corks painted white/red with puffy paint white spots. We found a bird nest hut from Bunnings and some coloured bonsai pebbles to add to the village. Tara remembers to water the village every day with a spray bottle i leave next to the garden. Lovely to see her enjoy hours of outside imaginative play together with the Smurfs.
Want to give your trick or treaters a healthy and fun alternative this year? why not make a batch of spooky Halloween slime and add some crazy critters. Arrange them in a small container and they are ready to hand out.Our slime recipe is found at http://superpants.net/slime.html
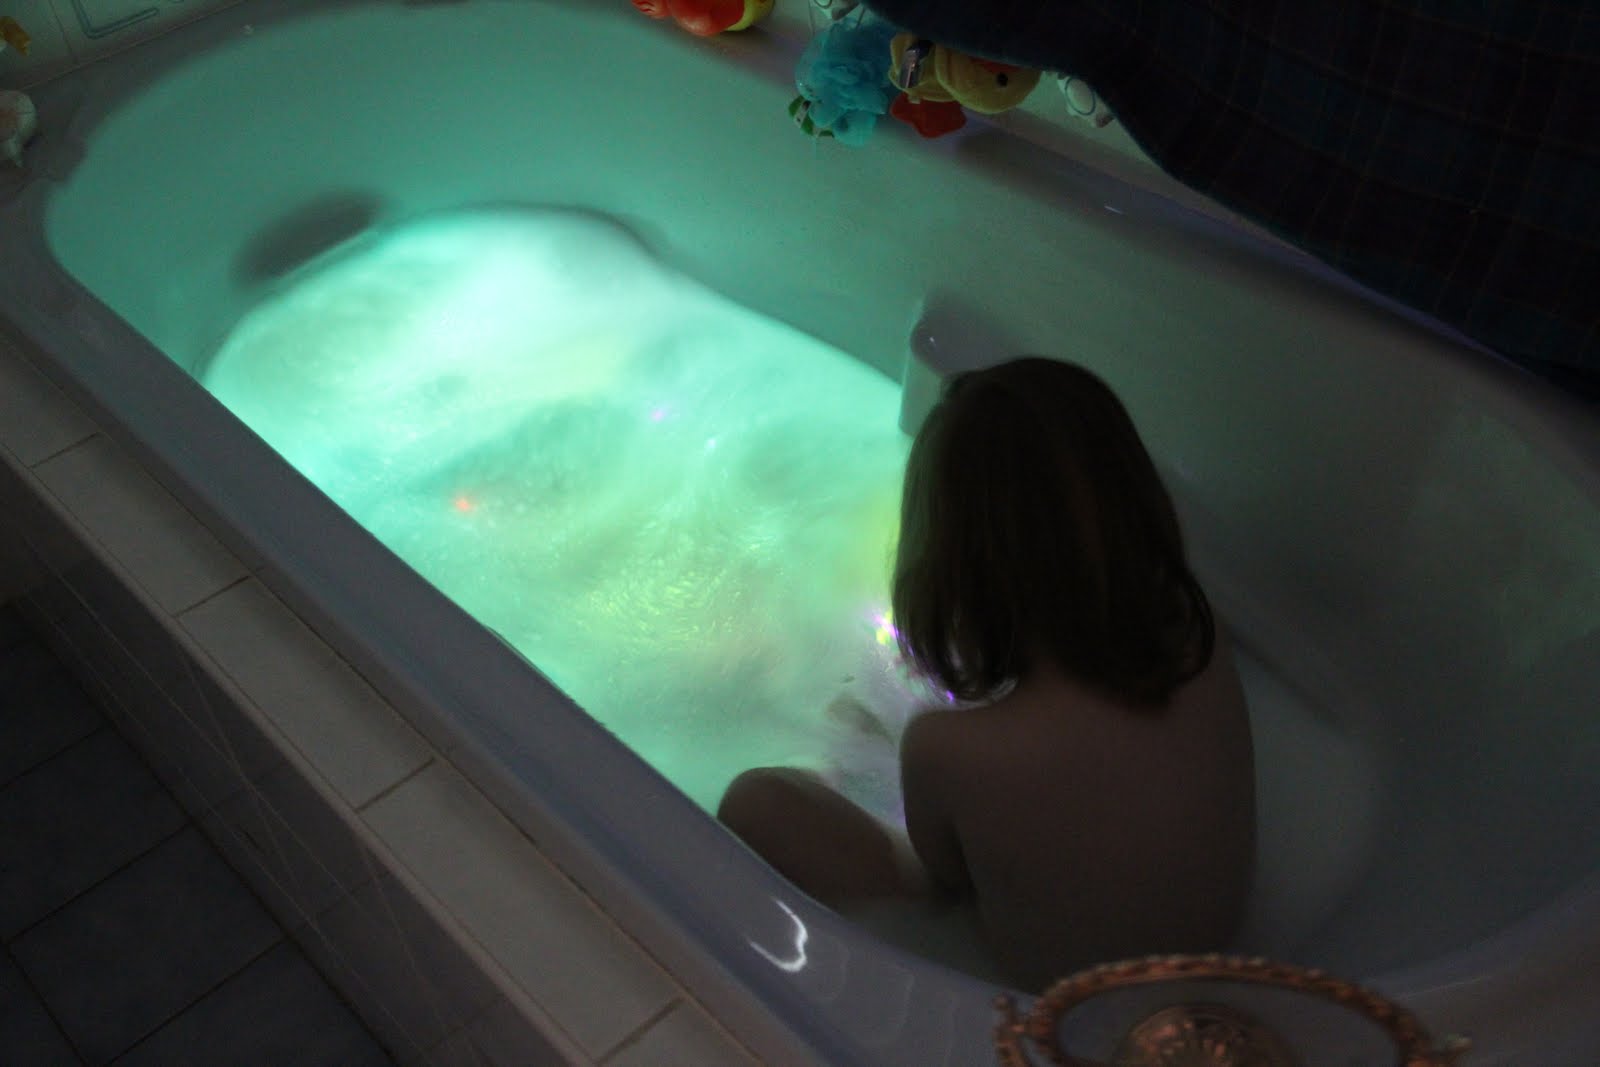
Want a spooky way to clean your self this Halloween??We made our bathroom as dark as possible with blankets covering all the windows and filled up the bathtub with warm bubbly water and added a handful of thin glow sticks.We found glow sticks at NYE time at Aldi for $7.99 for a hundred pack and they make for some great spooky adventures! Best of all the water is still safe for kids of any age to enjoy. When your finished keep the glow sticks in the freezer to increase their glow life and they can be used again the following nights.

 Take this sponge out and cut the plastic open.