Welcome To Home Learning From Birth

Welcome To Home Learning From Birth

Monday, November 25, 2013

Dinosaur discovering

Today we were Archaeologists searching for Dinosaur remains in our sandbox! These super cool bones are from Michelle's Plaster Painting and are a great addition to any sandpit. Hide them right down the bottom and see the surprise when they finally reach them. Best of all once they are found you can actually paint them and display them or if its just too much fun keep them in your sandbox like us!
This set is available to post as well as many more plaster painting items at www.michellesplasterpainting.com.au
or check out her facebook page

Wednesday, October 30, 2013

Mobile Toy Library


Have you visited a TOY library???

If you haven't been to see your local toy library-you must!! Its like a toy shop without the tantrums and credit card bill!
The mobile service run by volunteers, parks the bus at a different suburb each week so you can pick your closest location and meet them there. Some locations offer a free morning tea and a chance for your children to play while others are located right next to a playground for you and your little one to run around and enjoy the fresh air!

Anyone is welcome to come visit the mobile toy library and has a HUGE amount of toys on offer for all ages, babies to school aged. Membership is just an annual fee that then allows you to enjoy up to 3 toys in your own home for up to a month. Drop the toys off again when the bus is in your area and choose some new toys. If you get in early you could have your Halloween costume organised without fuss, book week dress up prepared or even borrow some ride on toys for your child's next birthday party!  
The toy library gives you a chance to try out toys that interest you child, expand their imagination and work on skills needed for development.

The amazing volunteers at our local Hawkesbury/Hills mobile toy library have been generous enough to give ONE lucky Homelearningfrombirth reader a full year FREE membership!
To be in the running to win this you must live in the Quakers Hill/Pitt town/The Ponds/Kurrajong area of Sydney. Send me an email kc1181@bigpond.net.au telling me why you would love a
ONE YEAR TOY LIBRARY MEMBERSHIP!

Entries close 9th November and will be contacted by email.  
For more info on the toy library visit
Good Luck!!!

The popular mobile toy library at "The Ponds"

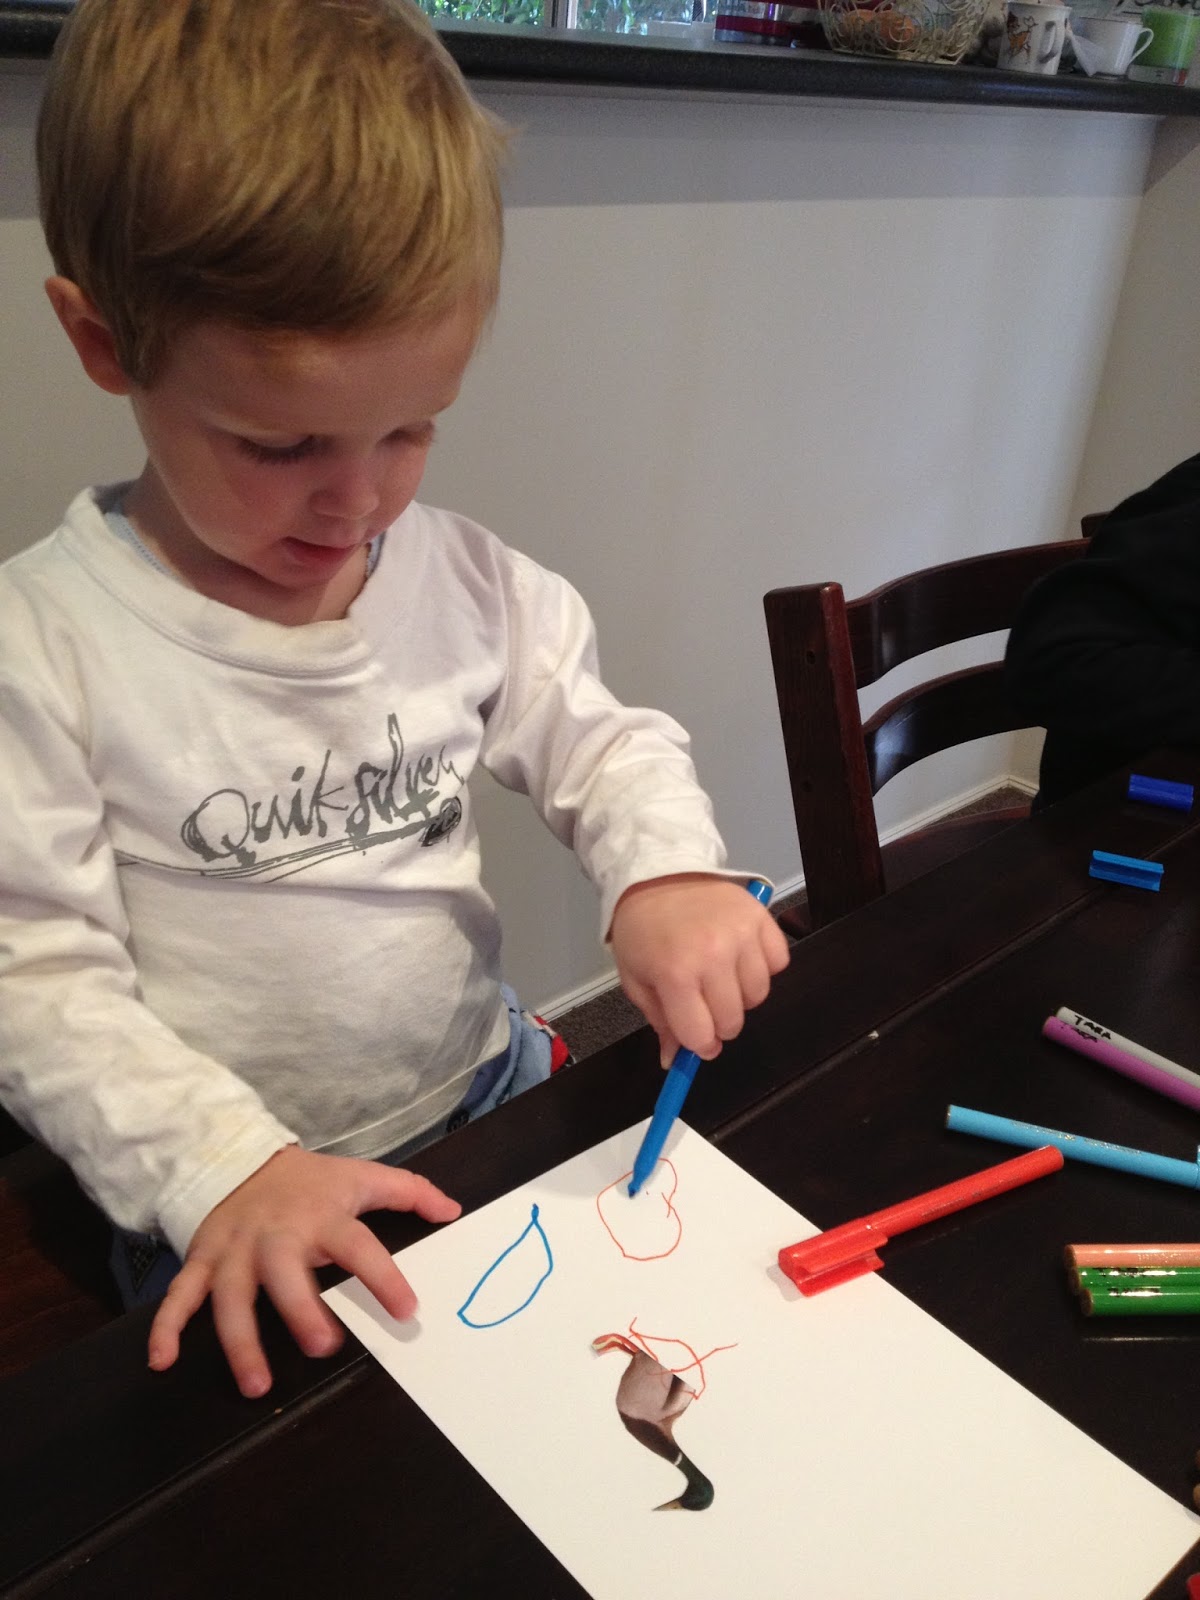
Mason enjoying his lawn mower borrowed from the toy library! 


Sunday, October 20, 2013

Halloween Spider Pops

It's one of our favourite times of year! I'm not sure why the kids love it so much though it could possibly have something to do with the copious amounts of lollies that fill our house! We don't get any trick or treaters at our doors on Halloween, living in Australia, Halloween isn't a big thing! But we do make treats for our friends because its a bit of fun!
This year i knew i wanted to make lollipops but wasn't sure what to do. Tara suggested licorice as it is her favourite treat so i came up with these spider pops!

So firstly i used brown m&m's for the body and cut thin strips of licorice straps for the legs.
I laid the spiders onto baking paper and added a lollipop stick to the end of each one. Then i made a batch of toffee....
3 cups caster sugar, 1 cup water, and 1/4 cup vinegar bought to the boil for about 15 mins
or until golden
I gently poured the toffee mixture over the spiders, making sure to coat the stick and whole of spiders. Leave to cool at room temp for 15 mins the pull away from baking paper.

They didn't take long at all, the hardest part was the fiddly eight legs but the look great and the toffee really added to the spookiness by looking like zap from a tree. I found the FREE Halloween jar printable on this great site here... http://embellishinglifeeveryday.blogspot.com.au/


Friday, October 11, 2013

Brauer Review and GIVEAWAY!!!


Our family have been huge supporters of the BRAUER products ever since we had our firstborn. Sleepless nights cured by teething relief and coughs and colds vanished with cold&flu medicine. I even remember Tara being obsessed with asking for medicine at bedtime but thankfully with BRAUER i knew there was nothing nasty i was giving her.
So when BRAUER asked me to try out their new Bath and Skincare range i knew they would have my back and support me once again in my effort to control the nasties many children are exposed to everyday.

How many of you swear by Paw Paw cream??? It fixes everything right? Chapped lips,eczema, nappy rash, bumps and bruises! BUT did you know most of these creams contain PETROCHEMICALS??
Disgusting isn't it!...make a stand for our kids and support BRAUER by using their own natural PAW PAW cream that DO NOT contain any harmful ingredients.
With a rise in Eczema and skin complaints its important to check the ingredients of everything you put on your little ones skin. So when i read the back of the BRAUER baby sleepytime bath and noticed words that came from a garden not a laboratory i knew it was for my kids. The baby Sleepytime bath is moisturising, gentle and dreamy!


BRAUER have given Homelearningfrombirth 3 Natural Paw Paw Creams and 3 Sleepytime baths to give away to readers and entry is SIMPLE!

Send an email to KC1181@bigpond.net.au with the word "Brauer" in the subject line and let me know WHY you would like to try either a Paw Paw cream or a sleepytime bath. Then head over to facebook and 'like' Brauer-just click the link here- https://www.facebook.com/#!/BrauerAus
Entries close 26th October 2013 and winners will be notified by email shortly after.
GOOD LUCK!!!


Sunday, September 1, 2013

Kmart $100 giftcard WINNER announced!!!


And the winner of the Kmart Australia $100 giftcard drawn by Random.Org is..........

Storage tip #1 Alli Brown!!! Congrats Alli and we hope you enjoy your Kmart giftcard. Please email me kc1181@bigpond.net.au with your postal address and Kmart will send it out to you!
Stay tuned for more comps over the next days...

Friday, August 16, 2013

Montessori shelves plus a $100 Kmart Gift Card GIVEAWAY!!!!!!


    It's Giveaway time!!!!!

We are all for "teach me to do it myself" at Homelearningfrombirth so when Kmart Australia asked me to review their children's cube unit i was thrilled!

I set up the unit Montessori style and Mason was happy to visit the shelves and easily reach what he would like to work on and place it back where he found it when he is finished.
 Order is extremely important in a toddler's environment and the independence they get from choosing their work and being responsible for packing it away not only shows in their confidence but also teaches respect for their belongings.
   

This 6 square Children's Cube Unit is part of Kmart's new "Beautiful Living" range which is in stores NOW! The best bit??? The whole unit is only $25!

WANT TO KNOW HOW TO WIN????

Up for grabs i have a $100 gift card for Kmart Australia for you to use for shelves or anything else that tickles your fancy at Kmart :)

All you need to do is.....
1. Leave a comment below this post and tell me "What is your best storage tip?" 
2. Head over to Facebook and 'like' Homelearningfrombirth
3. Kmart


T&C below....Good Luck! 


T&C's
Open to Australian residents only, Winner must have "liked" both Kmart and Homelearningfrombirth pages. Competition closes midnight 31st August. Winner will be selected by random.org and notified on this blog. Winner has 24 hours to claim prize or will forfeit the giveaway.  

Saturday, August 3, 2013

Moving into the land of Facebook - Join in!

Yawn! Who me???

Yes, us! We are heading into the land of Facebook and we want you all to come too!
After attending a Kids Business Bloggers Brunch, I have streamlined all things Homelearningfrombirth, spoken to some of my favourite companies about how they can help your family and how my little blog can pass on some AMAZING prizes to you!
So join us for more regular updates,competitions and share with your friends!

Tuesday, July 23, 2013

Magnetic pipecleaner bottle


Here is another 2 minute boredom buster..... Mister 2 cut up all our pipe cleaners into (approx) 1 cm pieces and placed them into a bottle.Its best if you use the longest bottle you have so they can be moved around.
Use a magnetic wand if you have one, if not any other strong magnet should work-try a Thomas train, fridge magnet or similar. The pipe cleaners will follow your magnet around. This is a very relaxing activity that can be used for calming down after a meltdown or keep it in the car for road trip activities. Older children may like to play the magnetic/non magnetic game as posted in our magnetic sensory tub post.

An Invitation to draw

Most children LOVE to draw but i do find Tara will 9/10 draw a bird or a house and Mason will draw a face or a digger but how do i encourage variety?
I left an invitation to draw on the table on morning and they jumped at completing them!
I flicked through magazines to find some interesting pictures, then cut them out leaving out half of the picture. Tara had half a butterfly and Mason had half a duck.
They then had to use their imagination to complete the picture and surrounding environment. These would be great to keep up your sleeve for long car rides, plane trips or when you just need that five minutes to make a phone call!


Colour swatch ombre wrapping

 Colour swatches are AMAZING in so many ways! Beautiful to the eye, useful for so many activities and did i mention FREE!!
We picked these ones up at our local Bunnings and used our butterfly hole punch to make a stack of tiny coloured butterflies. Tara sorted the colours as best she could from lightest to darkest and glued them to a brown paper package for her cousin.
The latest OMBRE trend can even become a part of learning! Tara also discovered the remains of the colour swatches made great butterfly stencils to keep for a rainy day!


Silky Smooth Dough


Sometimes plain playdough can get boring....mix it up a bit!!! This recipe is for silky smooth playdough
Mix 3/4 cup of conditioner to 1 and 1/2 cups of cornflour and mix with a spoon until blended. take into your hands and knead until smooth adding more conditioner or cornflour as needed-will depend on the room temperature.
The right consistency will be smooth yet break in half if pulled apart. Add food colouring last if required. Just a few drops in the center of dough and knead till evenly tinted.


Monet painters tape bridge

Following along with topic of interest "Great Artists", i picked up a few craft supplies and headed home to share the plan with the children

 I used the painters tape to make a bridge on each blank canvas making sure to press firmly down at the edges. We borrowed a book from the local library on Monet's artwork and Tara and i discussed which watercolours we would need on our palette to paint this famous painting.

 We put on some French music and painted all afternoon while discussing the types of paint strokes we noticed in the painting....long "stripey" ones for the flowing trees and "dotty" ones for the waterlilies
 We waited a full day for the paint to dry then carefully took off the painters tape to reveal our bridge over our waterlilies.

Friday, July 5, 2013

Sight word fab 4

With Kindergarten started we have had lists of sight words come home to practice so i made up these sheets to make it a little more fun!
Say it-cut out and stick the word from the list
Write it-using lead pencil write the letters that make the word
Build it-using beans i wrote the letters needed for all the words and placed them in a dish for Tara to find
Stamp it-using alphabet stamps and stamp pad, Tara used every letter to make her word
I used a teachers stamp to mark each line when complete
We named this the FAB 4.....
say it,write it,build it and stamp it!

Science Lab Tot Tray

I set up a tot tray for Mason with:
Test tubes of coloured water
A squeeze bottle of vinegar
A shaker of Bi-carb soda
Some small glasses,bowl,syringe and spoon.
He enjoyed his time experimenting and being able to get messy and watch colours change,bubble and fizz!


Teacher Appreciation gift 2012


Tara made these last christmas and i had forgotten to share. These were for her Pre-k teachers and we are hoping they were one of those special gifts that keep on giving-and actually get used!
I found some basic $4 clipboards in officeworks and i painted them with two coats of chalkboard paint then left to dry for 24 hours.
Tara then got busy filling the whole handle with diamonties.They sparkled,were made with love and can be used for years to come!
Three cheers for all the amazing teachers out there!!!

Chalkboard Portraits


How cute are kids button noses and tiny chins? I wanted to mark these memories so before Tara started school i took a photo of both the children side on. Best way to do this is while they are watching T.V!
I printed the photos on the printer in an A4 size and then carefully cut around the outline of the child.
Using the cut out printed photo of the child i then used blue tak to secure the picture to the wooden board that backs an A4 sized photo frame. I had painted this with white paint (i used ceiling white as that's all we had-kids paint wasn't thick enough to get a bright white)
After the printed photo was secure i outlined the photo carefully using a thin black permanent texta.
I used chalkboard paint to then simply paint the inside of the permanent marker outline.
Waited 24 hours to dry and placed them back in the frames. We hung them at our entrance and also added gold hooks under them to create a space that the children could keep their school bag on and gumboots underneath.


Wednesday, June 26, 2013

Upcycle toy chest to dino world


Our toy chest was great for storing blankets when the kids were small but lets face it, all those stuffed toys are just dust collectors so we handed down our teds and i placed a custom sized peice of astroturf (fake grass) on the lid with Mason's dinsoaurs, trees and rocks on it. Inside the chest are other toys that are suited for play on top of the chest like Tara's my little pony collection, some horses and farm animals. These can be swapped by whoever is playing at the chest. I left a small chair next to the chest to make it easier to play although cushions would do nicely too!

Animal pet rocks

 This was an inviation to play that i set one this morning for both kids to create Animal Pet Rocks, keeping with our letter of the week A.
Paint,glue,pom poms,eyes,gems,crepe paper and plenty of rocks. Needless to say our house is now FULL of families of pet rocks :)


Apple colours


I had printed off these apples to continue his apple theme week and i used my own colours to colour them as previously with Tara i had colour printed card and found the shades were very hard to distinguish. The reds closer to orange and the browns closer to grey.
After colouring them i cut and laminated as well.
These made great small cards that i placed out in Montessori methods (left to right top to bottom) and then asked Mason to hand me the...blue apple,red apple etc.
Leaving the ones i knew he would struggle with to the end and spoke about what else in the house was grey or white etc.
 I will continue this every few days and look forward to seeing him take pride in naming them all :)

Graphing letter of the week


Trying to keep with the letter of the week while big sissy is at home on holidays i found her some apple theme grid work over at making learning fun...


We had never done these before but she loved it! Basically there are grid coordinates that she must follow and colour in a designated colour then the more coordinates you find the picture becomes more apparent. The activity kept her guessing right up to the last square of what it could possibly be that she was graphing...then she saw it...An apple!

Cheerio Abacus

A is for Abacus
As Mason has started on his letter of the week program we made this Abacus from a cardboard box, cheerios and fishing wire. Very simple to make. I attached the wire and let him thread the Cheerios and we counted them as we put them on. He seems to love it, regularly going to his Montessori shelves and laying on his tummy and counting them across.


Coloured cloud dough


                                                          Coloured Cloud Dough!
This dough is fluffy and light and lots of fun. I had made it with Tara a few years ago but this time we added colour!
Recipe is: 4 cups of flour
1/2 cup of baby oil
finely grated chalk pastels
We used a kitchen grater on the finer side to firstly shave our chalk into separate containers first. Then we made a big batch of the flour/oil mix and added the colours after just mixing with a spoon till combined.
Consistency should be crumbly but hold when compacted.
Please be aware baby oil is toxic if eaten so this activity must be supervised at all times.Sandpit moulds, bento moulds and ice cream scoops work well with this dough