Welcome To Home Learning From Birth

Welcome To Home Learning From Birth

Tuesday, July 23, 2013

Magnetic pipecleaner bottle


Here is another 2 minute boredom buster..... Mister 2 cut up all our pipe cleaners into (approx) 1 cm pieces and placed them into a bottle.Its best if you use the longest bottle you have so they can be moved around.
Use a magnetic wand if you have one, if not any other strong magnet should work-try a Thomas train, fridge magnet or similar. The pipe cleaners will follow your magnet around. This is a very relaxing activity that can be used for calming down after a meltdown or keep it in the car for road trip activities. Older children may like to play the magnetic/non magnetic game as posted in our magnetic sensory tub post.

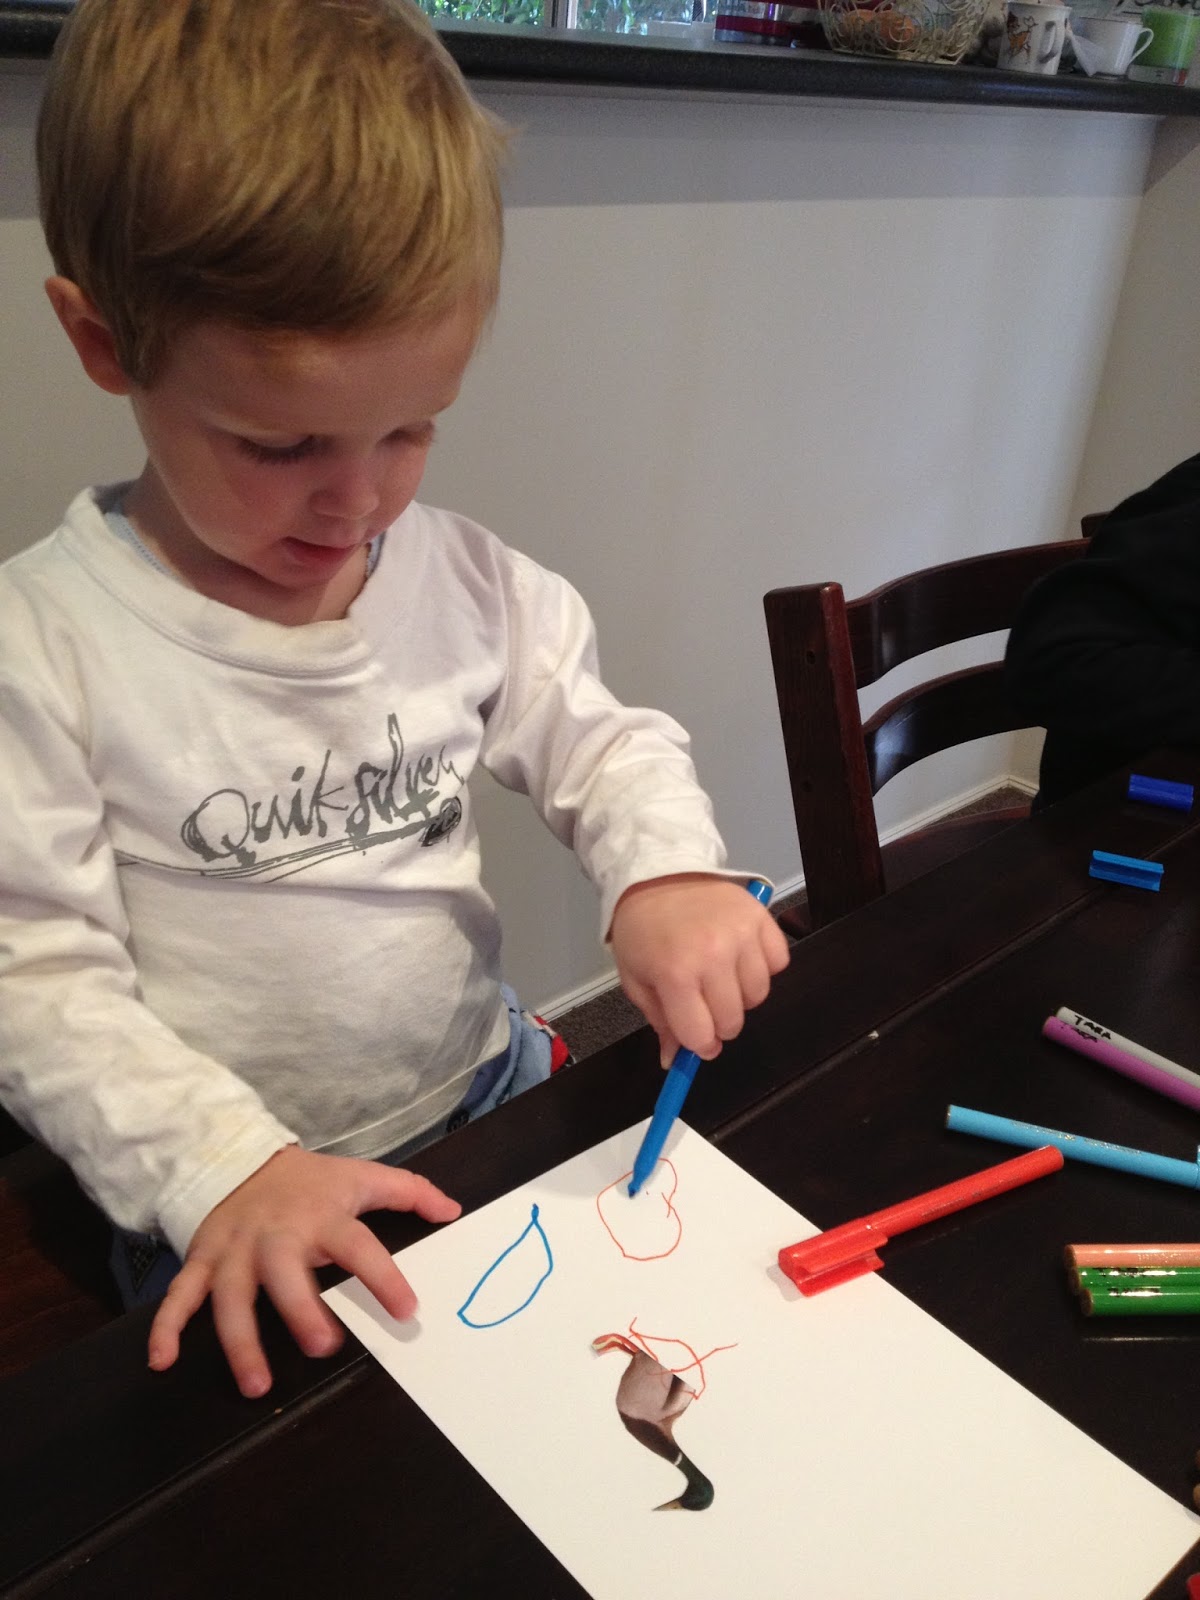
An Invitation to draw

Most children LOVE to draw but i do find Tara will 9/10 draw a bird or a house and Mason will draw a face or a digger but how do i encourage variety?
I left an invitation to draw on the table on morning and they jumped at completing them!
I flicked through magazines to find some interesting pictures, then cut them out leaving out half of the picture. Tara had half a butterfly and Mason had half a duck.
They then had to use their imagination to complete the picture and surrounding environment. These would be great to keep up your sleeve for long car rides, plane trips or when you just need that five minutes to make a phone call!


Colour swatch ombre wrapping

 Colour swatches are AMAZING in so many ways! Beautiful to the eye, useful for so many activities and did i mention FREE!!
We picked these ones up at our local Bunnings and used our butterfly hole punch to make a stack of tiny coloured butterflies. Tara sorted the colours as best she could from lightest to darkest and glued them to a brown paper package for her cousin.
The latest OMBRE trend can even become a part of learning! Tara also discovered the remains of the colour swatches made great butterfly stencils to keep for a rainy day!


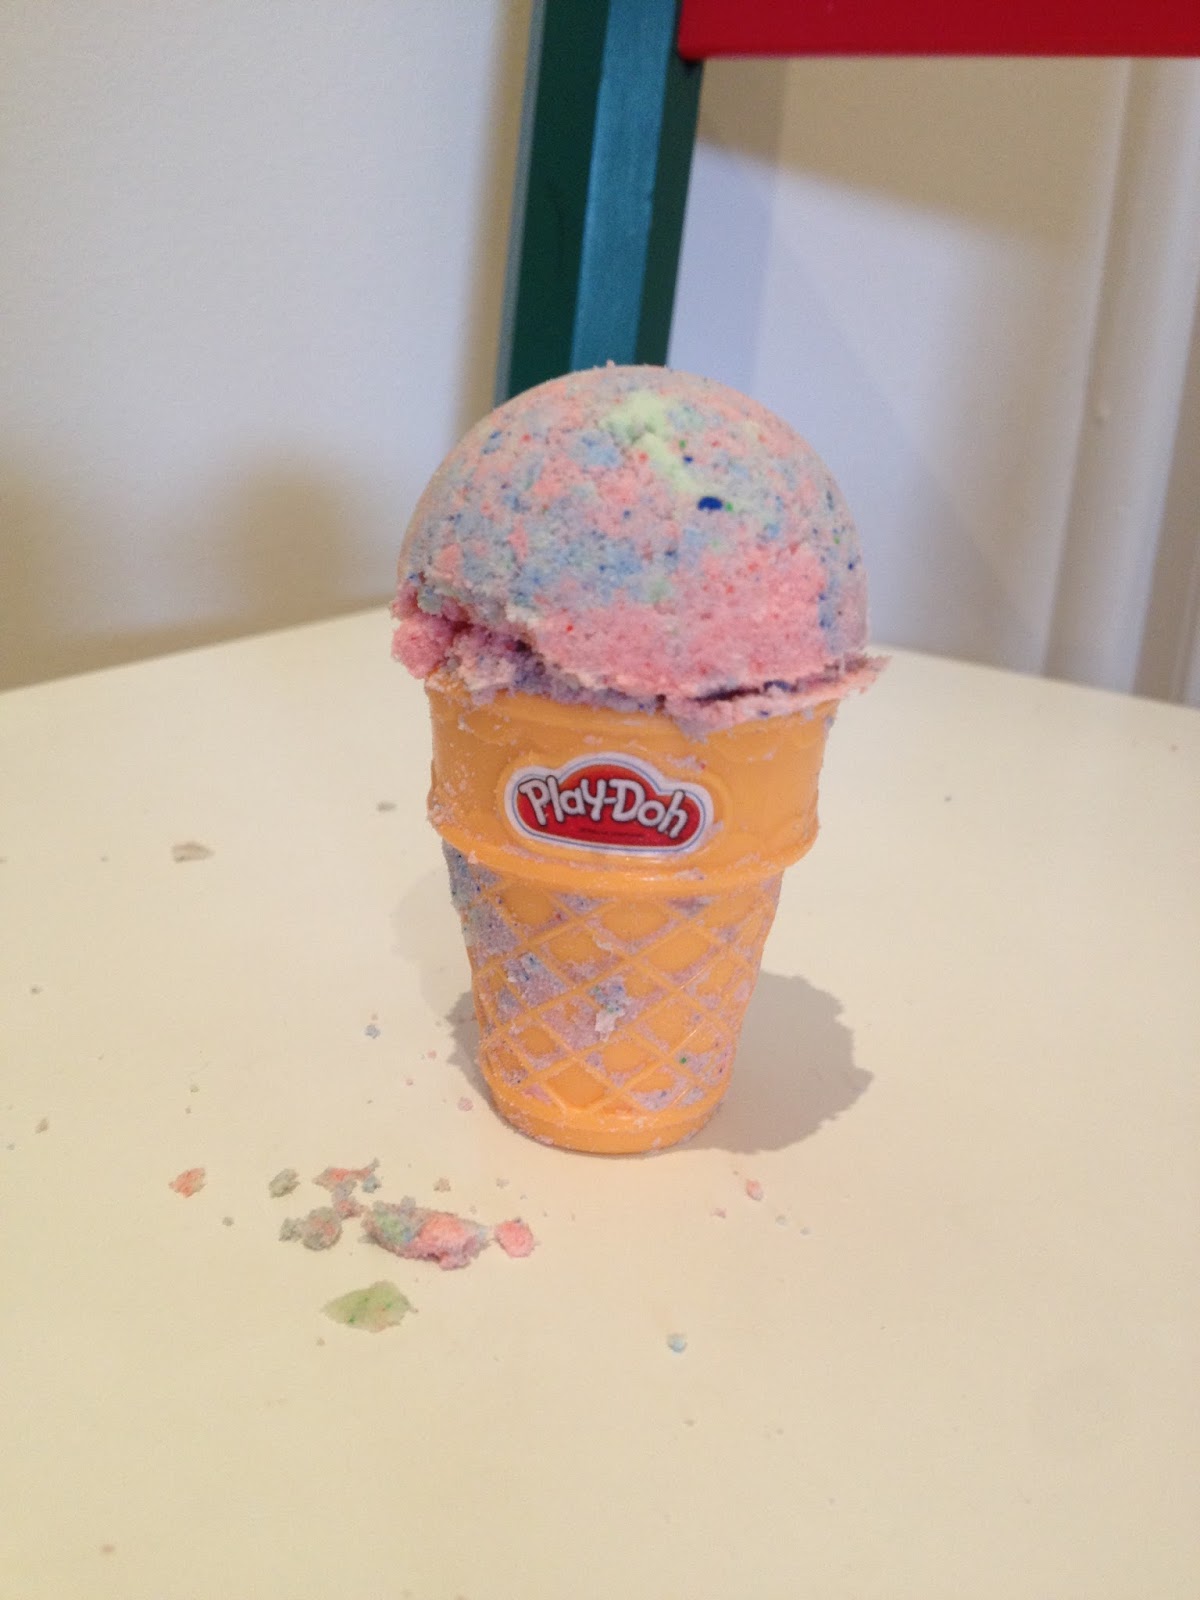
Silky Smooth Dough


Sometimes plain playdough can get boring....mix it up a bit!!! This recipe is for silky smooth playdough
Mix 3/4 cup of conditioner to 1 and 1/2 cups of cornflour and mix with a spoon until blended. take into your hands and knead until smooth adding more conditioner or cornflour as needed-will depend on the room temperature.
The right consistency will be smooth yet break in half if pulled apart. Add food colouring last if required. Just a few drops in the center of dough and knead till evenly tinted.


Monet painters tape bridge

Following along with topic of interest "Great Artists", i picked up a few craft supplies and headed home to share the plan with the children

 I used the painters tape to make a bridge on each blank canvas making sure to press firmly down at the edges. We borrowed a book from the local library on Monet's artwork and Tara and i discussed which watercolours we would need on our palette to paint this famous painting.

 We put on some French music and painted all afternoon while discussing the types of paint strokes we noticed in the painting....long "stripey" ones for the flowing trees and "dotty" ones for the waterlilies
 We waited a full day for the paint to dry then carefully took off the painters tape to reveal our bridge over our waterlilies.

Friday, July 5, 2013

Sight word fab 4

With Kindergarten started we have had lists of sight words come home to practice so i made up these sheets to make it a little more fun!
Say it-cut out and stick the word from the list
Write it-using lead pencil write the letters that make the word
Build it-using beans i wrote the letters needed for all the words and placed them in a dish for Tara to find
Stamp it-using alphabet stamps and stamp pad, Tara used every letter to make her word
I used a teachers stamp to mark each line when complete
We named this the FAB 4.....
say it,write it,build it and stamp it!

Science Lab Tot Tray

I set up a tot tray for Mason with:
Test tubes of coloured water
A squeeze bottle of vinegar
A shaker of Bi-carb soda
Some small glasses,bowl,syringe and spoon.
He enjoyed his time experimenting and being able to get messy and watch colours change,bubble and fizz!


Teacher Appreciation gift 2012


Tara made these last christmas and i had forgotten to share. These were for her Pre-k teachers and we are hoping they were one of those special gifts that keep on giving-and actually get used!
I found some basic $4 clipboards in officeworks and i painted them with two coats of chalkboard paint then left to dry for 24 hours.
Tara then got busy filling the whole handle with diamonties.They sparkled,were made with love and can be used for years to come!
Three cheers for all the amazing teachers out there!!!

Chalkboard Portraits


How cute are kids button noses and tiny chins? I wanted to mark these memories so before Tara started school i took a photo of both the children side on. Best way to do this is while they are watching T.V!
I printed the photos on the printer in an A4 size and then carefully cut around the outline of the child.
Using the cut out printed photo of the child i then used blue tak to secure the picture to the wooden board that backs an A4 sized photo frame. I had painted this with white paint (i used ceiling white as that's all we had-kids paint wasn't thick enough to get a bright white)
After the printed photo was secure i outlined the photo carefully using a thin black permanent texta.
I used chalkboard paint to then simply paint the inside of the permanent marker outline.
Waited 24 hours to dry and placed them back in the frames. We hung them at our entrance and also added gold hooks under them to create a space that the children could keep their school bag on and gumboots underneath.


Wednesday, June 26, 2013

Upcycle toy chest to dino world


Our toy chest was great for storing blankets when the kids were small but lets face it, all those stuffed toys are just dust collectors so we handed down our teds and i placed a custom sized peice of astroturf (fake grass) on the lid with Mason's dinsoaurs, trees and rocks on it. Inside the chest are other toys that are suited for play on top of the chest like Tara's my little pony collection, some horses and farm animals. These can be swapped by whoever is playing at the chest. I left a small chair next to the chest to make it easier to play although cushions would do nicely too!

Animal pet rocks

 This was an inviation to play that i set one this morning for both kids to create Animal Pet Rocks, keeping with our letter of the week A.
Paint,glue,pom poms,eyes,gems,crepe paper and plenty of rocks. Needless to say our house is now FULL of families of pet rocks :)


Apple colours


I had printed off these apples to continue his apple theme week and i used my own colours to colour them as previously with Tara i had colour printed card and found the shades were very hard to distinguish. The reds closer to orange and the browns closer to grey.
After colouring them i cut and laminated as well.
These made great small cards that i placed out in Montessori methods (left to right top to bottom) and then asked Mason to hand me the...blue apple,red apple etc.
Leaving the ones i knew he would struggle with to the end and spoke about what else in the house was grey or white etc.
 I will continue this every few days and look forward to seeing him take pride in naming them all :)

Graphing letter of the week


Trying to keep with the letter of the week while big sissy is at home on holidays i found her some apple theme grid work over at making learning fun...


We had never done these before but she loved it! Basically there are grid coordinates that she must follow and colour in a designated colour then the more coordinates you find the picture becomes more apparent. The activity kept her guessing right up to the last square of what it could possibly be that she was graphing...then she saw it...An apple!

Cheerio Abacus

A is for Abacus
As Mason has started on his letter of the week program we made this Abacus from a cardboard box, cheerios and fishing wire. Very simple to make. I attached the wire and let him thread the Cheerios and we counted them as we put them on. He seems to love it, regularly going to his Montessori shelves and laying on his tummy and counting them across.


Coloured cloud dough


                                                          Coloured Cloud Dough!
This dough is fluffy and light and lots of fun. I had made it with Tara a few years ago but this time we added colour!
Recipe is: 4 cups of flour
1/2 cup of baby oil
finely grated chalk pastels
We used a kitchen grater on the finer side to firstly shave our chalk into separate containers first. Then we made a big batch of the flour/oil mix and added the colours after just mixing with a spoon till combined.
Consistency should be crumbly but hold when compacted.
Please be aware baby oil is toxic if eaten so this activity must be supervised at all times.Sandpit moulds, bento moulds and ice cream scoops work well with this dough


Monday, June 24, 2013

Artist unit puzzles

Tara has a real passion for Art, not surprising really if she could create,draw,paint and mould all day-she would!
To delve deeper into Art i found an amazing online study unit
Although it is a little advanced for a 5 year old i have taken bits from it and used what works for us now.
Today we just familiarised ourselves with two famous paintings. We printed/laminated and will eventually stick magnets on the backs to make fridge puzzles. We look forward to growing on this and getting into our own painting later in the week!


Find a words

I have to say i really admirer homeschoolers with handfuls of children at different levels! It must really be a juggling act to keep them all engrossed in their own activity. As i have said before, i too am learning in our journey of teaching at home. Tara is on school holidays so will be joining us for the beginning of Mason's formal homeschooling.
Tara has taken an interest in find a words so i found these great printable find a word (apple theme to keep with Mason's theme) at 


Find a words are such a great activity that sneaks in all the reading lessons without them even realising! Along with the find a words there are some great printable maths equations printables too!

Letter of the week (round 2) A

Mason is turning 2.5 this week and lately he has been showing a real interest in sitting still and exploring written work. He often follows Tara around at home he will sit along side her and do his own work. It is funny that this is the exact same age Tara showed an interest in Montessori.
That willingness to listen and watch while lessons are demonstrated really takes focus and i feel Mason is showing he is ready for this.
As many home teachers follow their child's interests, i thought it only fitting to use Masons favourite food as a starting point for our lessons
APPLES!
I used the worksheets kindly provided by Carissa and her wonderful LETTER OF THE WEEK PROGRAM.
I placed these worksheets into a plastic sleeve and handed Mason the whiteboard marker and dobber to use. I do this to not only save the paper but at this age half the fun is rubbing out and trying again.

So today we traced focusing on circle shapes and the letter A.  This week we will be learning all things A, names of our fruits and colours and this little man is loving it already!

Tara's reading

Watching Tara flourish at school this year, it has been obvious that the time we had put in to working at home together before school had really paid off. Her reading is getting even stronger and her enthusiasm is what makes me proud. Here is a little mummy-cam of her reading independently at age 5.5 


Tuesday, February 19, 2013

Teddy biscuits in bubble baths


Teddy's in a bubble bath

We had a play date set up so i thought id try making these treats that the kids loved helping with too!
They are so simple and only need a few ingredients..
Chocolate ripple biscuits
Small marshmallows
Tiny Teddy biscuits

I put each choc ripple biscuit into the microwave for 20 seconds or until soft. Moulded it GENTLY when they came out and placed them into a muffin tray. Then i put in the tint teddy and covered with marshmallows. Placed the whole tray into the oven at 100 degrees for 2 minutes or until you see marshmallows JUST soften. Take out the tray and press the marshmallows down lightly the mould them in to each other. Let cool and enjoy! Will keep for a few days in airtight container